Visual Scripting
Visual Scripting is a tool designed to lower the entry barrier to programming. As code is more visible, it needs less abstract thinking to be understood. Any game designer or analyst can look at it and quickly understand the logic flow.
We've added VS to Balancy, so you can segment and limit your Game Offers to ensure that the correct player gets the right offer. The first version of VS is limited, but we plan to expand it so you can use it for anything, even game logic. The best part of VS is that it lets your designers manipulate game logic remotely and without distracting your engineering team.
| Parameter | Description |
|---|---|
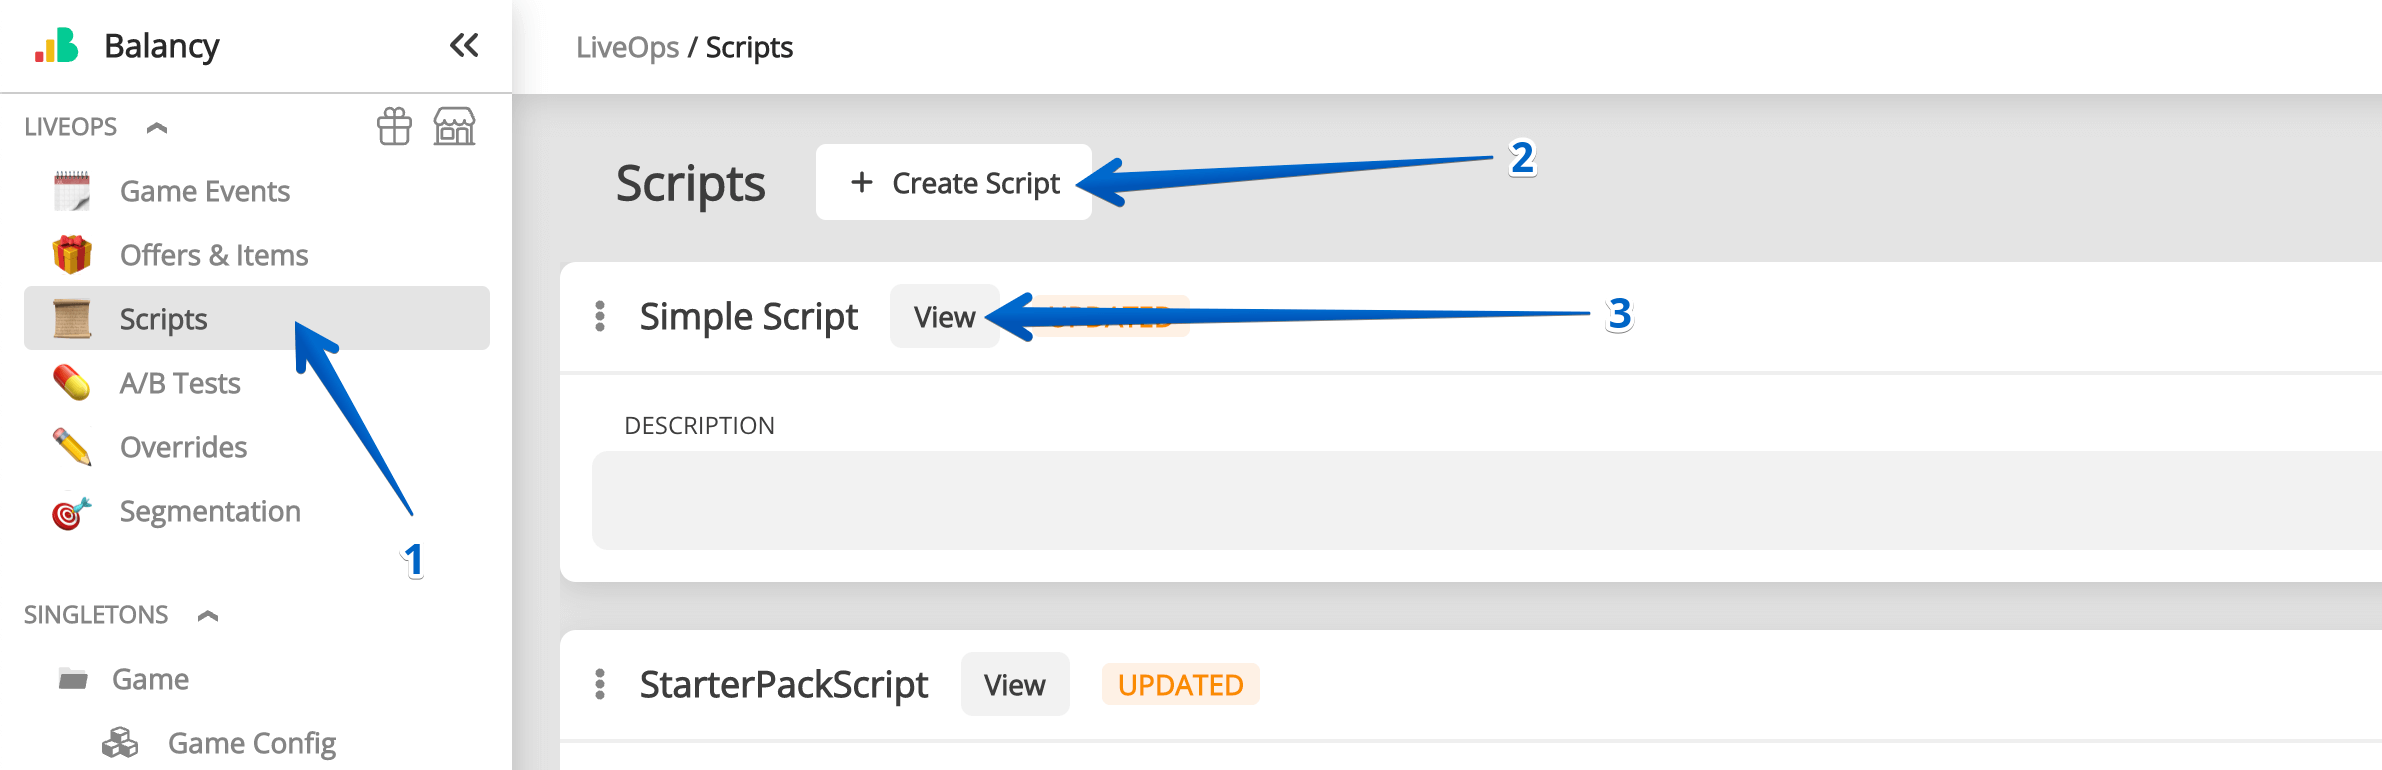
| Name | This name is used mainly for your convenience |
| Description | Helps other team members quickly understand the purpose of the Script |
When you click on a View button of any Script, the Visual Scripting tool will launch and open the selected Script.
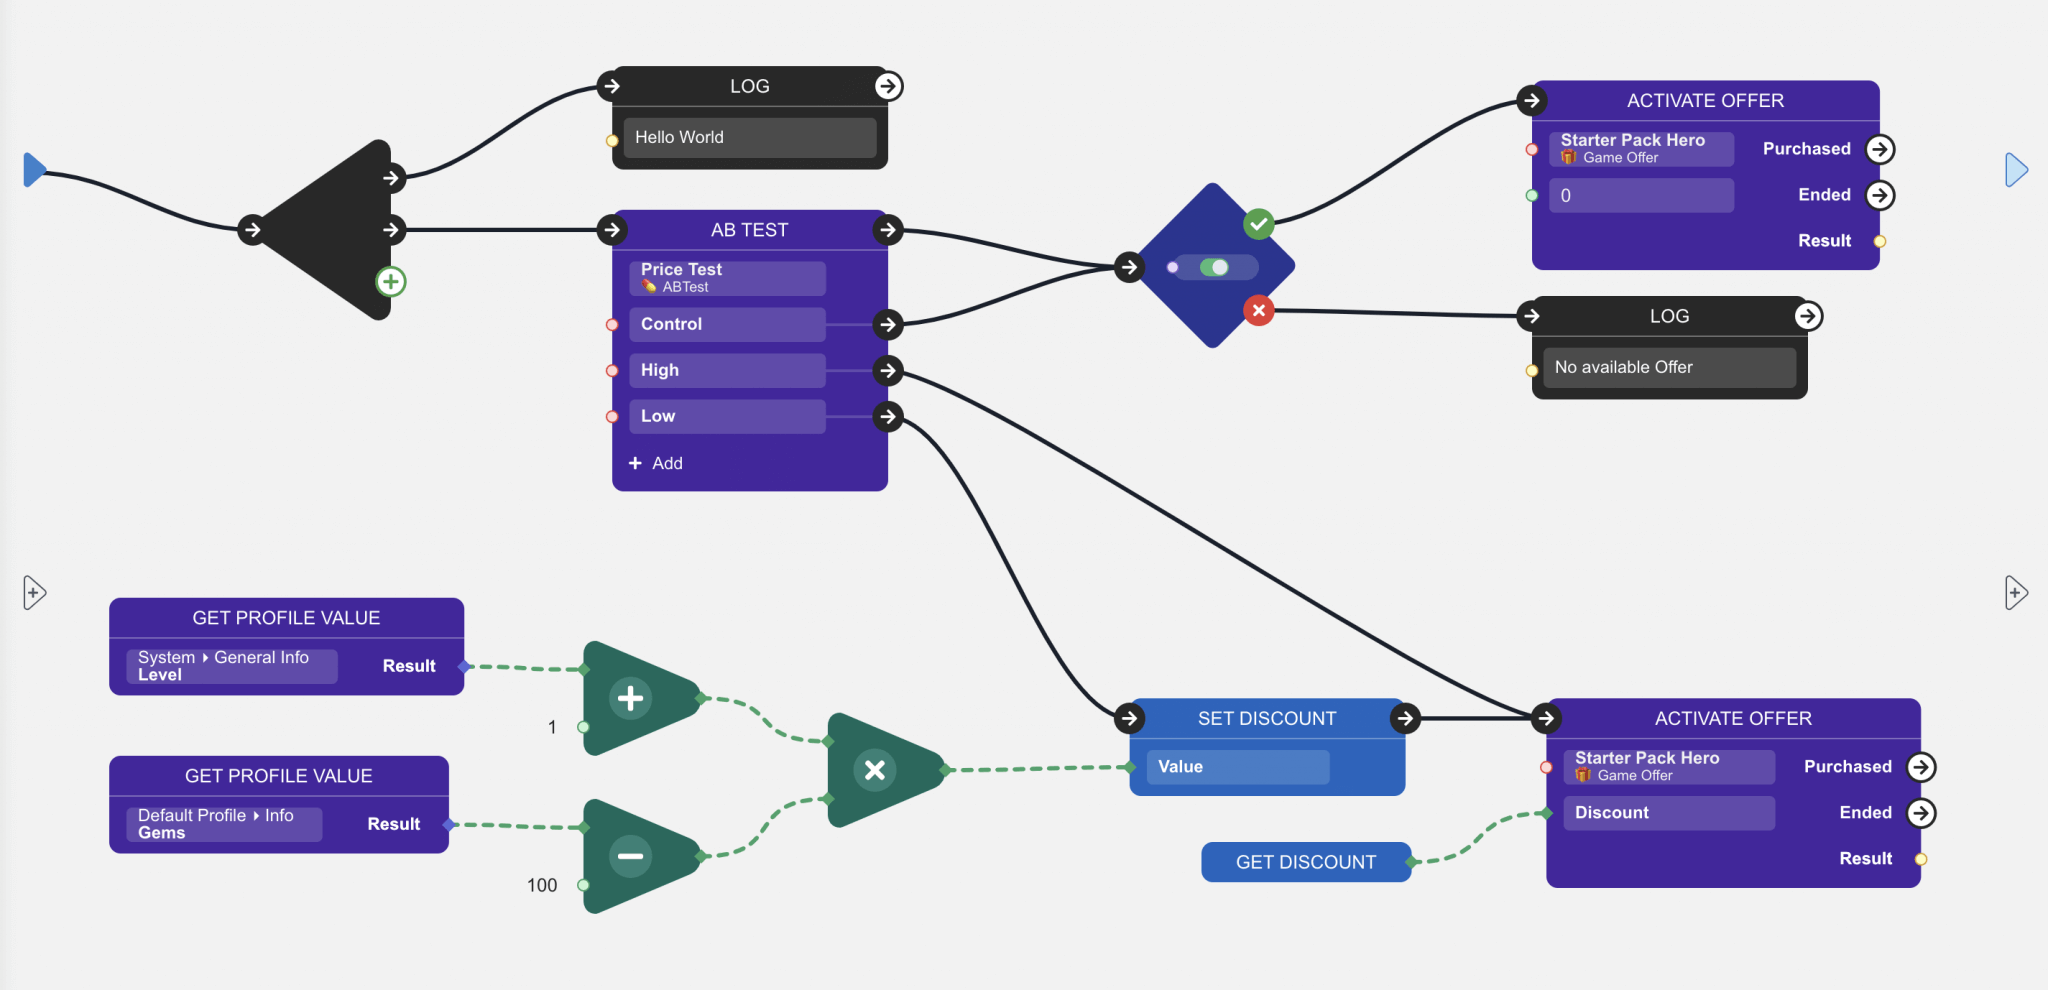
- Right Click on the canvas to add a new Node. Each Node executes a specific logic.
- You can connect ports of different nodes to define the logic flow.
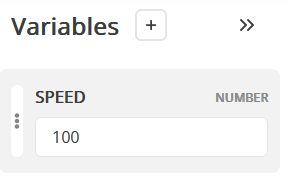
- On the right side, there is a variables section. You can add new variables there. Drag and Drop variables to the canvas to operate with them in the Script.
- Each Script starts with the Enter Port and should end at the exit port.
We provide several Scripts as Examples - they are the best way to learn how it works. Once the Script is ready, link it to the GameEvent.
Run custom method
You can call your own static C# methods from within Visual Scripting. As an example, let's say you have a class:
namespace Experiments
{
    public class SpeedManager
    {
        public static void PrintSpeed(int speed)
        {
            Debug.LogWarning("speed: " + speed);
        }

        public static NodeRunFunctionReturnType IncreaseSpeed(int speed)
        {
            return new NodeRunFunctionReturnType(new Dictionary<string, object> {{"new_speed", speed * 2}});
        }
    }
}
Create the script:
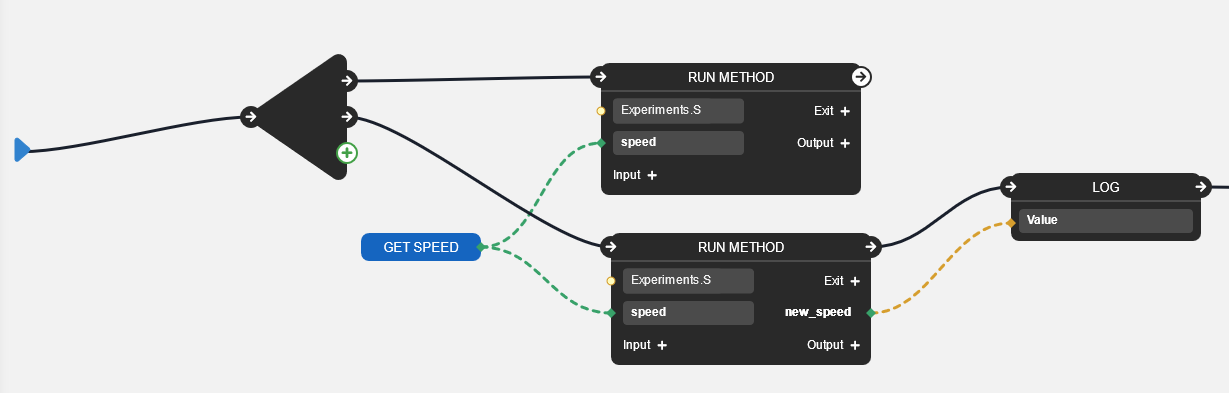
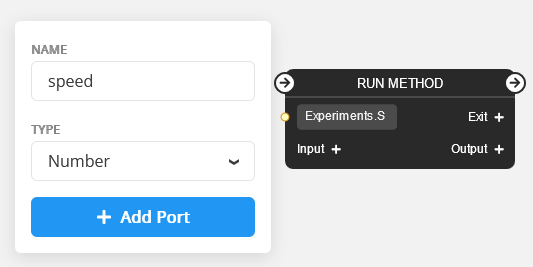
- You need to set the full path to the method. In this example:
Experiments.SpeedManager.PrintSpeedandExperiments.SpeedManager.IncreaseSpeed. -
Set variable. It's not necessary to use variables. You can pass it in different ways. It's just an example.
-
Set input port. The names must match the C# method params.
-
Same for outputs (if they are needed). Remember that your methods should return structure
NodeRunFunctionReturnType(or just void otherwise).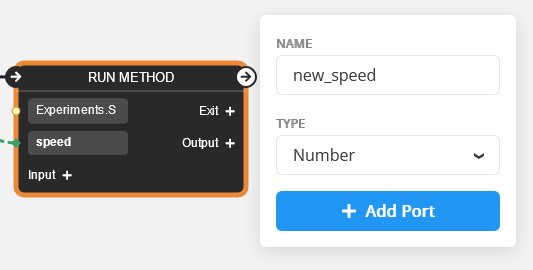
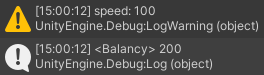
-
Deploy all changes, set up the Unity project, and run it. You will see these messages in the editor logs: