New SDK Preview
This section is a preview of the new SDK. The new SDK is still in development, and we are actively working on improving it. We value your feedback, so if you have any questions or suggestions, please reach out to us. If you are not using the new SDK, please refer to another documentation section.
Install SDK
TypeScript
Quick Start
-
Install the Balancy SDK package:
npm i --save @balancy/core@latest npm i --save @balancy/cli@latest -
Simple example to initialize the SDK:
import { AppConfig, Balancy, Environment, Platform, } from '@balancy/core'; (async () => { // TODO: Replace with your game ID and public key const config = AppConfig.create({ apiGameId: <YOUR_GAME_ID>, publicKey: <YOUR_PUBLIC_KEY>, environment: Environment.Development, }); config.platform = Platform.AndroidGooglePlay; config.deviceId = "TestDevice"; config.customId = "Custom456"; config.appVersion = "1.0.0"; config.engineVersion = "TypeScript_1.0"; Balancy.Callbacks.initExamplesWithLogs(); await Balancy.Main.init(config); })(); -
Clone a complete working example from our public GitHub project: Balancy TypeScript Example.
File Manager
The Balancy SDK includes a file manager system to help you manage configurations and assets. It caches the downloaded data, so it can be reused next session. To make the file manager work, you have to implement the following interface:
export interface JSFileHelper {
  createSubDirectoryInCacheCallback(fileName: string): void;
  saveFileInCacheCallback(fileName: string, data: string): void;
  saveFileInCacheBinaryCallback(fileName: string, data: string): void;
  saveFileInResourcesCallback(fileName: string, data: string): void;
  cleanUpResourcesFolderCallback(): void;
  cleanGeneratedCodeFolderCallback(): void;
  saveGeneratedCodeCallback(fileName: string, data: string): void;
  loadFileFromCacheCallback(fileName: string): string;
  loadFileFromResourcesCallback(fileName: string): string;
  deleteCachedFolderCallback(path: string): void;
  deleteCachedFileCallback(path: string): void;
  getFilesInCachedFolderCallback(path: string): string[];
  applyTempFolderCallback(tempFolder: string): void;

  // Additional methods for enhanced functionality
  getBinaryFile?(key: string): Promise<Uint8Array | null>;
  saveBinaryFile?(key: string, data: Uint8Array): Promise<boolean>;
  hasFile?(key: string): Promise<boolean>;
  deleteFile?(key: string): Promise<boolean>;
  getCacheStats?(): {
    fileCount: number;
    memoryUsage: string;
    hitRate?: number;
    totalRequests?: number;
    cacheHits?: number;
  };
}
Recommended Solution: @balancy/utils Package
For browser environments, we highly recommend using our official @balancy/utils package, which provides a complete IndexedDB-based file system:
npm install @balancy/utils
import { IndexedDBFileHelperAdapter } from '@balancy/utils';
import { Balancy } from '@balancy/core';

// Create and initialize the file helper
const fileHelperAdapter = await IndexedDBFileHelperAdapter.create({
    cachePath: '.balancy'
});

// Get cache statistics
const stats = fileHelperAdapter.getCacheStats();
console.log(`📁 Files: ${stats.fileCount}, 💾 Memory: ${stats.memoryUsage}`);

// Initialize Balancy (DataObjectsManager integration is automatic)
await Balancy.Main.initializeFileHelper(fileHelperAdapter);
Key features of IndexedDBFileHelperAdapter: - ✅ Complete IndexedDB integration - Persistent storage in browser - ✅ Performance optimized - Multiple preloading strategies - ✅ Cache statistics - Monitor memory usage and performance - ✅ Binary file support - Handle images, configs, and other assets - ✅ TypeScript support - Full type safety
Alternative Implementations
For other platforms or custom implementations:
- NodeJS - Uses the file system to save/load files
- TypeScript Browser - Uses local storage (basic implementation)
Feel free to download any of these files and use them in your project or write your own implementation.
Basic Implementation Example
If you prefer a custom implementation, here's the minimal code needed:
// For basic browser implementation
await Balancy.Main.initializeFileHelper(new FileHelperClassBrowser({
    cachePath: '.balancy'
}));

// For IndexedDB implementation (recommended)
const adapter = await IndexedDBFileHelperAdapter.create({
    cachePath: '.balancy',
    codePath: 'src/auto-generated-code',  // Optional
    resourcesPath: 'src/resources'        // Optional
});
await Balancy.Main.initializeFileHelper(adapter);
Configuration Parameters:
- cachePath - Path where the files will be saved (required)
- codePath - Path for generated code files (optional)
- resourcesPath - Path for downloaded resources (optional, can be used with npm commands)
Additional Methods
You can use several npm commands to configure the Balancy SDK. These commands are part of the @balancy/cli package. To access them, add the balancy script to your package.json file:
{
  "name": "balancy-demo",
  "version": "1.0.0",
  "main": "index.tsx",
  "scripts": {
    "start": "react-scripts start",
    "build": "react-scripts build",
    "balancy": "balancy"
  }
}
Adding "balancy": "balancy" allows you to run Balancy commands directly from the terminal.
Authentication
Authenticate the Balancy SDK using this command:
npm run balancy -- config-login -e <email> -p <password> -c .balancy
Use your email and password from the Balancy Dashboard. This command creates a .balancy folder containing a user.info file, which securely stores your email and token. It is recommended to add this folder to .gitignore to prevent sharing tokens. After authentication, you can run Balancy commands without logging in again by specifying the -c .balancy parameter.
Get Game List (Optional)
npm run balancy -- config-list-games -c .balancy
Lists all games associated with your account. Use this command to retrieve the game ID.
Select Game
npm run balancy -- config-select-game -c .balancy -g 6f5d4614-36c0-11ef-9145-066676c39f77
Select the game you want to work with by specifying its game ID. The selected game is saved in the user.info file, which you can edit manually if needed.
List Branches
npm run balancy -- config-list-branches -c .balancy
Lists all branches in the selected game. Use this command to retrieve branch IDs.
Select Branch
npm run balancy -- config-select-branch -c .balancy -b 0
Select a branch by specifying its ID. The selected branch is saved in the user.info file, which you can edit manually if needed.
Generate Code
npm run balancy -- config-generate -c .balancy -p src/auto-generated-code
Generates code for the selected branch and saves it to the specified path. For example, the code is saved to the src/auto-generated-code folder in this command. Once generated, you can import the code into your project:
import 'auto-generated-code/index';
Download Configs
npm run balancy -- config-download -c .balancy -p src/resources
Downloads configurations and assets for the selected branch. Specify the path where the files should be saved. For example, the configs are saved to the src/resources folder in this command. This allows your app to include essential configs for offline use or as a fallback.
Cocos Creator
Quick Start
Follow the TypeScript setup instructions first. You can continue using npm commands to manage the Balancy SDK, or install an additional package for enhanced integration:
npm i --save @balancy/cocos-creator@latest
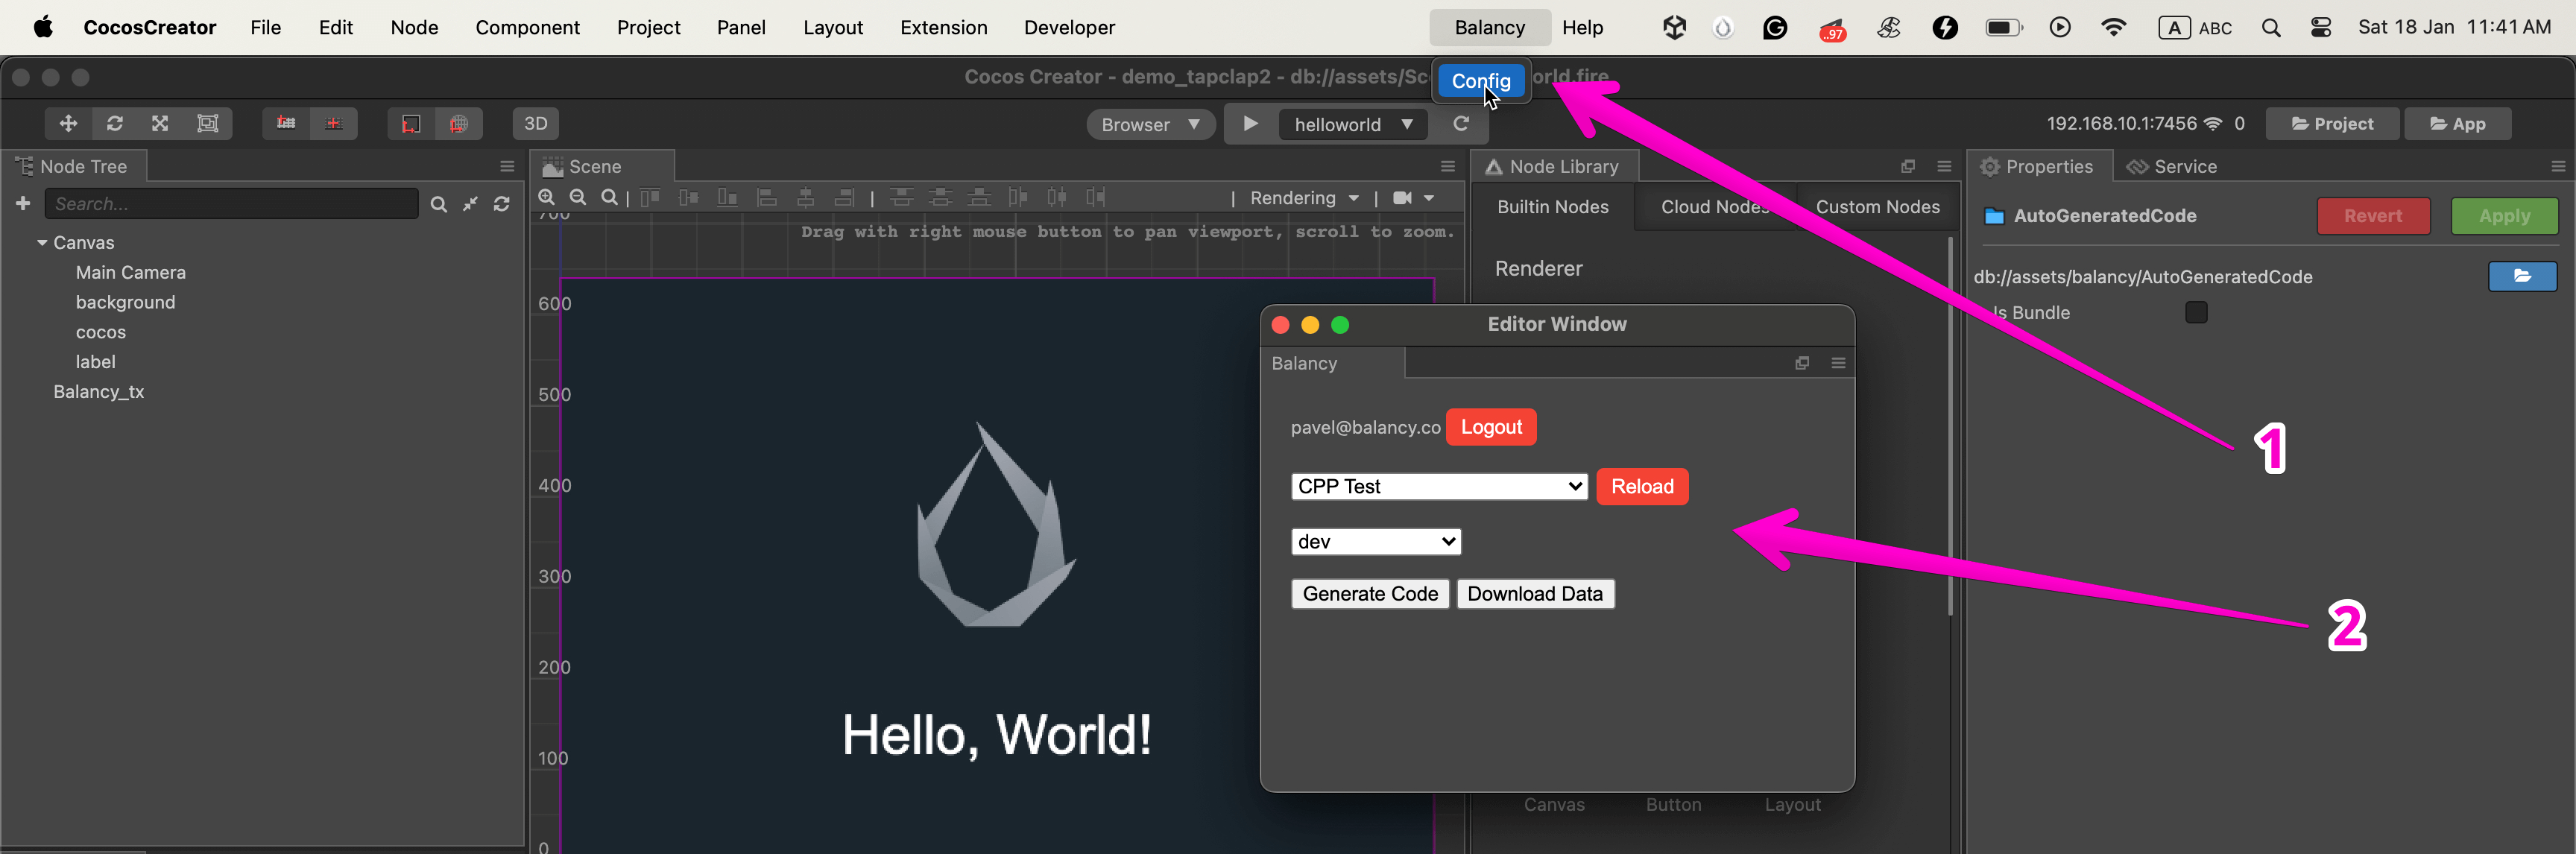
Once installed, a new menu item appears in the Cocos Creator editor. You can find it in the top menu under Balancy. Use this menu to run all Balancy commands.
Unity
- Install Balancy SDK from OpenUPM.
-
Simple example to initialize the SDK:
Balancy.Callbacks.InitExamplesWithLogs();
Balancy.Main.Init(new AppConfig
{
    ApiGameId = <YOUR_GAME_ID>,
    PublicKey = <YOUR_PUBLIC_KEY>,
    Environment = Constants.Environment.Development,
    BranchName = branchName,
    OnProgressUpdateCallback = ((fileName, progress) =>
    {
        Debug.Log($"Balancy launch progress {(progress*100):2}% : {fileName}");
    }),
});
Next Steps
Learn more about AppConfig parameters and Callbacks here.